
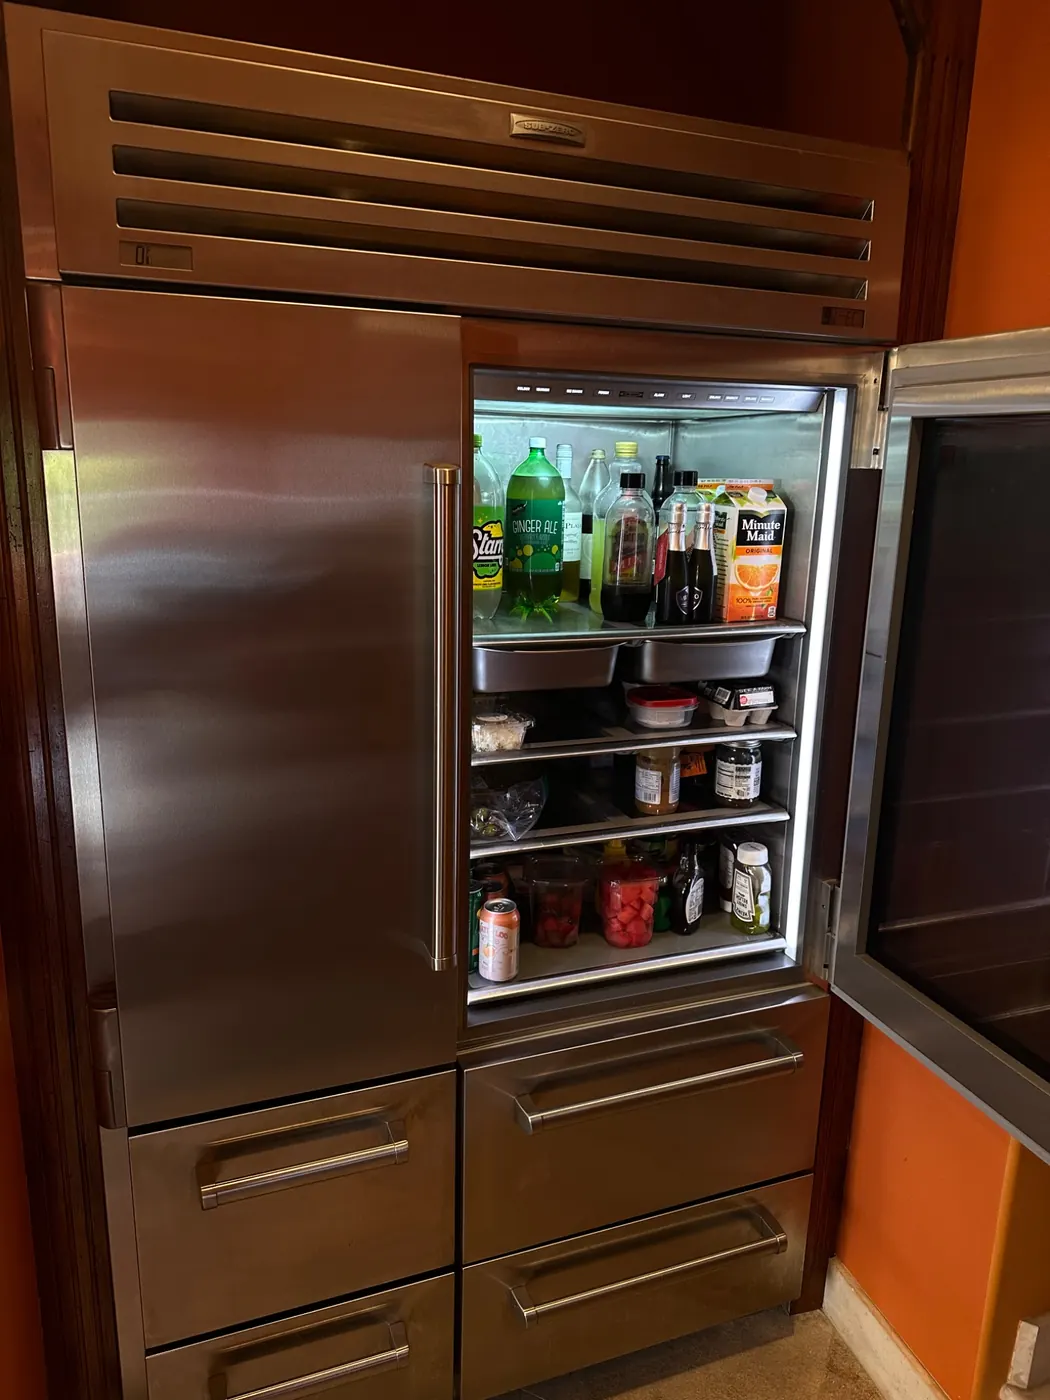
Before you reach inside the freezer compartment or pull the refrigerator away from the wall, unplug it. An ice maker combines water and electricity in a small space, so never probe wiring, poke at the module with metal tools, or try to thaw parts with anything plugged in. And leave the sealed refrigeration system alone entirely; compressor and refrigerant work is not a DIY job under any circumstances.
1. Control arm or sensor switched to off
Most ice makers use a wire feeler arm or an infrared beam across the bin to sense when it's full. If the arm gets pushed up, or something in the bin blocks the sensor, the ice maker believes the bin is full and simply stops. It isn't broken; it's been told to stand down. This is the single most common 'failure' we get called for.
DIY checks: Look at the wire arm; it should be in the down position. Gently lower it if it's up. On models with an infrared sensor, clear anything tall out of the bin, wipe frost off the sensor windows, and make sure the bin is pushed all the way in. Check for a dedicated on/off switch or a display setting; on many fridges 'Ice Off' shows as a small icon that's easy to miss.
When to call a pro: If the arm is down, the sensor is clear, and the setting is on but nothing happens within 24 hours, the sensor or control board may be misreading. Diagnosing that takes live testing, which is our side of the line.
2. Overdue or clogged water filter
The filter catches sediment, and as it loads up it chokes water flow. The ice maker fill valve only opens for a few seconds each cycle, so weak flow means a partial fill and small, hollow, or missing cubes; a fully clogged filter means no ice at all. Most manufacturers say to replace the filter every six months, and in our experience almost nobody does.
DIY checks: Check the filter's replacement date; if you can't remember changing it, it's overdue. Swap in a new one, run a couple of quarts through the water dispenser to purge air, and give the ice maker up to 24 hours to catch up. If cubes come back full-size, you've found it.
When to call a pro: If a fresh filter doesn't restore flow, the restriction is somewhere else in the water path, and tracing it means testing the valve and lines behind the machine.
3. Frozen fill tube
Water enters the ice mold through a small tube at the back of the freezer. When flow is weak or the fill dribbles, water can freeze inside that tube and build into a solid plug, and once it's blocked, no water reaches the mold at all. A frozen fill tube is usually a symptom of something upstream, like a weak inlet valve or low water pressure, which is why it tends to come back after a thaw.
DIY checks: With the fridge unplugged, look for an icicle or ice buildup where the fill tube meets the ice maker. That confirms the diagnosis, and confirming it is genuinely useful to know. Don't attack it with a hair dryer or hot water; it's easy to warp plastic parts or send water into the electronics.
When to call a pro: Thawing the tube safely and, more importantly, finding out why it froze is technician work. If we only melt the plug without fixing the cause, you'll be calling again in two weeks, so we test the valve and pressure while we're there.
4. Freezer not cold enough
Ice makers don't run on a timer; a thermostat waits for the mold to reach freezing temperature before starting the harvest cycle. The freezer needs to hold roughly 0 to 5 degrees F for steady production. At 10 or 15 degrees your food still feels frozen, but the ice maker cycles slowly or not at all, which is why this cause sneaks past most homeowners.
DIY checks: Put a thermometer in the freezer and check it after a few hours; you want it around 0 to 5 degrees F. Make sure vents aren't blocked by food, test the door gasket by closing it on a dollar bill (it should resist a tug), and vacuum the condenser coils if you can reach them with the fridge unplugged.
When to call a pro: If the freezer can't hold temperature after those checks, you're looking at a defrost system, fan, or sealed system issue. Refrigerant work in particular is strictly professional territory, and the ice maker won't recover until cooling is fixed.
5. Kinked water line or partially closed shutoff
A thin supply line runs from a shutoff valve, usually under the sink or behind the fridge, to the back of the refrigerator. If the fridge was pushed back tight against the wall, the line can pinch; if the shutoff was half-closed during a plumbing job and never fully reopened, the ice maker gets a trickle instead of a fill. Either way the machine goes through the motions with too little water.
DIY checks: Unplug the fridge and walk it forward carefully. Look at the supply line for kinks or flattened spots and follow it to the shutoff valve; open the valve fully. If the water dispenser also runs slow, weak supply is very likely your answer.
When to call a pro: Replacing a corroded saddle valve or a brittle line involves shutting off water and making new connections. If you're not comfortable with plumbing fittings, one bad connection can quietly ruin a floor, so this is a fair place to hand it off.
6. Failed water inlet valve
The inlet valve is an electrically operated valve on the back of the fridge that opens when the ice maker calls for water. They fail two ways: the solenoid dies and the valve never opens, or the screen clogs and it can't pass enough water even though you hear it hum. If the water path checks out and the freezer is cold but the mold stays empty, the valve is the prime suspect.
DIY checks: This one is mostly about ruling out everything above it: fresh filter, open shutoff, no kinks, cold freezer. You can listen for a brief hum from the back of the fridge when a fill should happen. Stop there; the valve carries both live voltage and pressurized water.
When to call a pro: Confirming a bad valve requires testing the solenoid with a meter and checking water flow through it, exactly the water-plus-electricity combination that shouldn't be a DIY experiment. Replacement is quick for a technician and it's one of the most common repairs we do.
7. Ice maker module or motor failure
The module is the small gearbox and control unit that runs the harvest cycle: it twists or sweeps the ice out of the mold, resets, and calls for the next fill. When the motor or gears fail, you'll see a full mold of ice that never ejects, a cycle that stalls halfway, or a unit that's simply dead. After years of twice-daily cycles, these assemblies just wear out.
DIY checks: Observation only: note whether the mold has ice that never dumps, whether the ejector arm is stuck partway around, or whether nothing moves at all. Those details genuinely speed up diagnosis when you call.
When to call a pro: Module diagnosis means running test cycles and checking the unit under power, and the fix is usually replacing the module or the complete ice maker assembly. We carry common ones on the truck, so this is typically a single-visit repair, backed by our 90-day warranty.